
Creating a Lauhala Headband (Nihoniho)
- Kaiya-lynn Kaha

- Nov 27, 2019
- 3 min read
Updated: May 13, 2020
Written Steps:
(You start this headband just like you would with the straight edge)
Starting with 2 strips of lauhala (24" in length and 1and 1/2" in width) Fold one strip into a 45° angle; making into a "V" like shape.

Take your other strip insert it in between the "V" shape.

With Your very left strip, take it and fold it up under the strip closest

Grab the very right strip, fold it up and over the strip closest to it and under the strip parallel to the strip you just folded over.

(Your strips should look like a ʻVʻ)
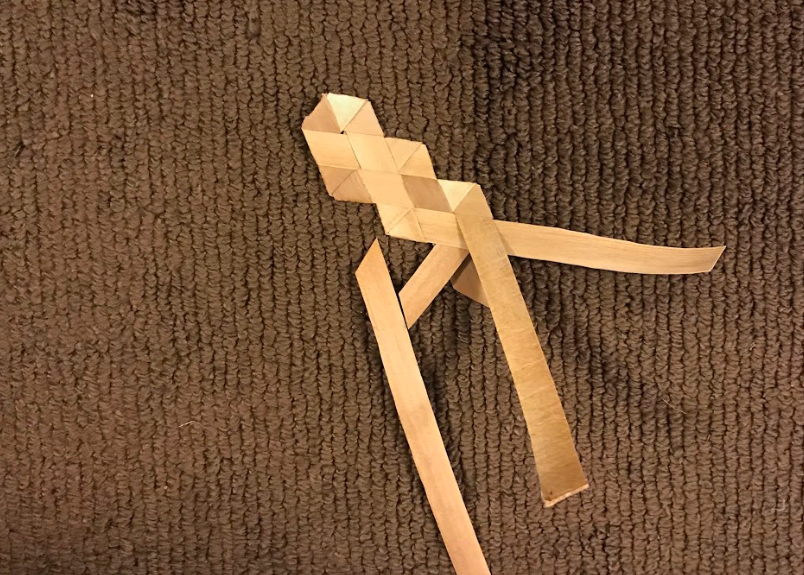
Actual Pattern
From your furthest right again, take that strip and fold it over the very two strips to the left and Under the last remaining strip.

Again, with the furthest right, fold under the strip to its immediate left and over the very next strip after that.

From the right again, fold under two strips towards the left and over the last strip.

Take the strip from the far left now, working back to the right, fold under one strip and over the other.

You should be back at the "V" shape again.

Now, from your very left. fold it under two strips and over one strip to the right.

Starting with the right again, fold the strip under the strip closest and over the very next strip.

(You should be back to a "V")
Take the most right strip and work towards the left, fold it under two strips and over the remaining one.

With the furthest left strip, fold under your immediate strip on the right and over the very next strip.

Again from the left, fold under two strips to the right and over one strip.

From the right once more, fold under one strip and over one strip working towards the left.

Repeat steps from 14 to 17 over and over again until you reach your desired length.
Pattern Simplified
Starting after "V"
Right: Over one Under one
Right: Over two Under One
Right: Under one Over one
Right: Under two Over one
Left: Under one Over one
Left: Under two Over one
Right: Under one Over one
Right: Under two and Over one
Left: Under one Over one
Left: Under two Over one
Right: Under one Over one
Repeat
(One or Two refers to the amount of strips)
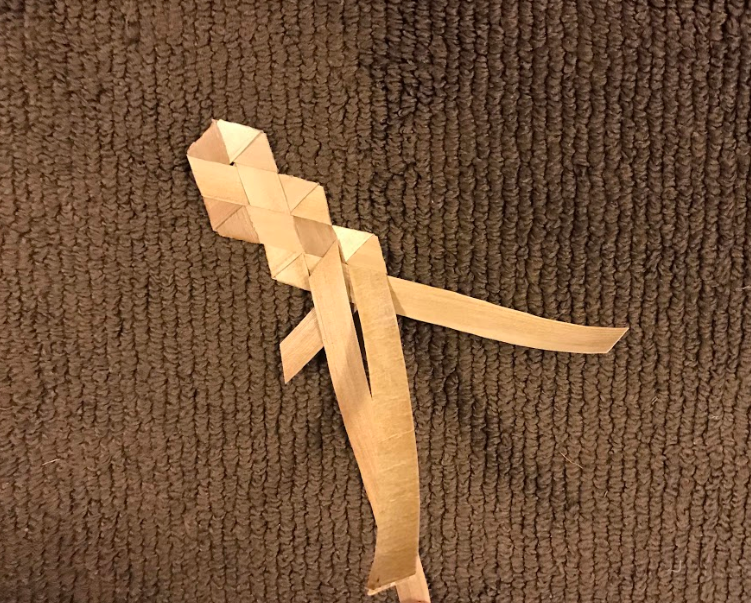
Adding Strips
You may find that your strips become shorter as you weave together your strips. If you see this happening and still need to make your pattern longer, grab a strip in relative size and color (to match) and insert it inside with your shorter strip. Continue to weave as normal.
Pictures below to show different insertion types depending on where the strip is:


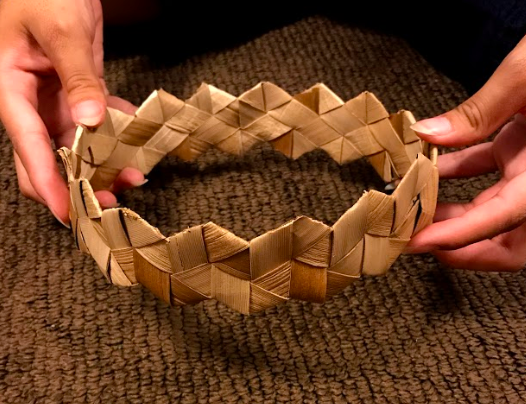
Ending It
Once you reach your desired length, end the weave with two pieces in the middle and two pieces sticking out towards the sides. With the other end of your leipo`o (headband) take it and insert it between the two middle strips. One middle strip should be on the top and the other on the bottom. With your strips, push it into the holes vertical in the pattern and tighten to secure. The side pieces follow its natural fold and tuck it into the holes horizontal in the pattern. You may need to cut the end pieces of each side piece at a diagonal slant so that it may fit snuggly into the existing weave.


Finished Product


Heres a printable document of the directions:


Comments